Devlog #3: Prefab Power, Camera Clarity, and Island Progress (Plus a Well-Deserved Break!)
Hey everyone, and welcome back to the Pixel Valley devlog! It feels like a little while since my last update, and for good reason – I managed to sneak in a much-needed vacation. But now I’m back, refreshed, and eager to share what I’ve been chipping away at during weeks 4 and 5 of my Stardew Valley inspired Unity game development journey.
Coming back after a break, even a short one, sometimes means needing a little warm-up to get back into the indie dev groove. My focus these past couple of weeks has been on some foundational Unity elements: getting comfortable with prefabs, refining the main camera setup for that crisp 2D look, and, excitingly, starting to lay down the tiles for our main island!
Diving Back In: Getting to Grips with Unity Prefabs
First on the agenda was to get a better handle on Unity prefabs. If you’re new to Unity, think of prefabs as reusable templates for your game objects. Whether it’s a tree, a collectable item, or even an enemy, once you’ve configured it, you can save it as a prefab and then easily create multiple instances of it throughout your game.
My learning here was about the basics – understanding how to create them, how they save changes across all instances, and why they’re such a cornerstone for efficient development. No specific complex prefabs to show off yet, but that “aha!” moment when you realize how much time and effort they’ll save down the line is incredibly satisfying. It’s all about building those good habits early in game development!
Setting the Scene: Camera Adjustments and 2D Layering
Next up, I turned my attention to the main camera. In a 2D game like the one I’m envisioning, how the camera is set up plays a huge role in the player’s experience. My main goals were to define the correct orthographic size for the camera – which basically determines how much of the game world is visible on screen – and to ensure that our 2D objects appear in the correct order.
There’s nothing quite like placing a character sprite and having it appear behind a background element it should be in front of! So, I spent some time learning about and implementing proper 2D layering. This might involve using Unity’s sorting layers or adjusting Z-axis positions. Getting this right is crucial for visual clarity and making the game world feel cohesive. It’s a subtle thing, but it makes a big difference.
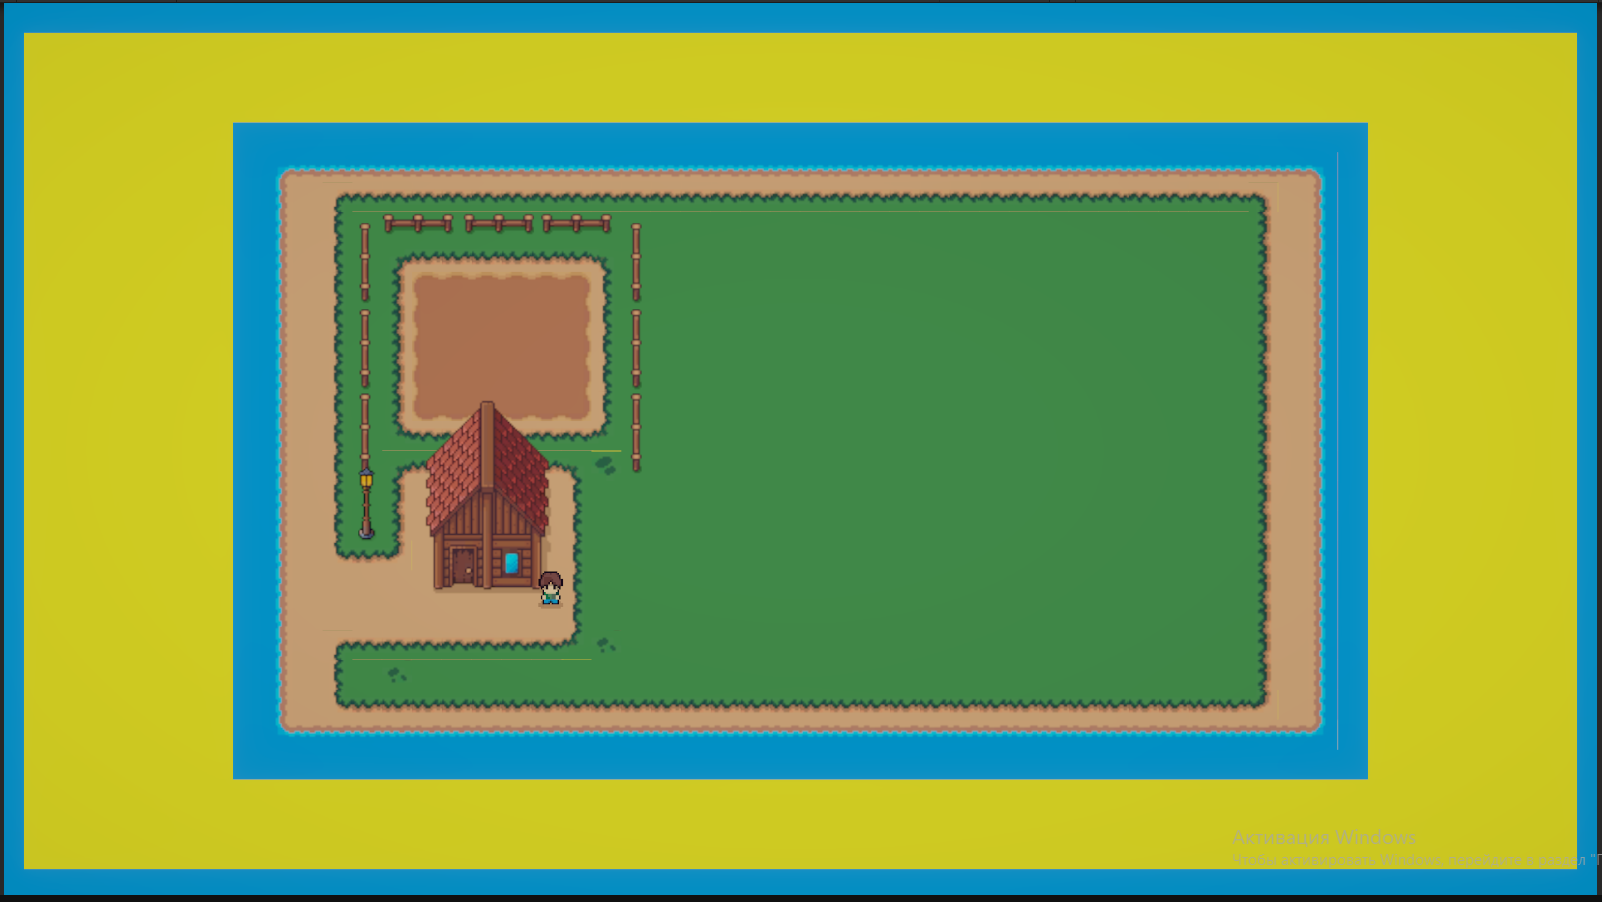
Building Our World: Starting the Main Island Tilemap
Following on from my initial explorations with Unity tilemaps in the previous weeks, I was really excited to start crafting the main island for Pixel Valley! This is where the world truly begins to take shape. Using the pixel art assets I found earlier, I began “painting” the terrain.
For now, it’s about laying the foundational tiles – the grass, the dirt paths, maybe the edges of where water might be. It’s still early days for the island, but seeing a larger expanse of the pixel art environment come together is incredibly motivating. Each tile placed is a step closer to the cozy, explorable game map I have in my head. This part of world building and level design is something I’m really looking forward to developing further.
The Importance of Downtime: Vacation and Refresh
As I mentioned, I took a little vacation time during this period. It’s easy to get so engrossed in an indie game dev journey that you forget to step away. But honestly, that downtime was invaluable. It’s a chance to clear your head, recharge your batteries, and come back to the project with fresh eyes and renewed energy.
For anyone else on a similar path, I can’t stress enough the importance of developer wellbeing. Avoiding burnout is key to long-term creativity and productivity. Sometimes, the best progress you can make on your project is to take a break from it! I definitely returned feeling more refocused and ready to tackle the next set of challenges.
Conclusion and Next Steps
So, weeks 4 and 5 were a mix of foundational learning and tangible progress. Getting more comfortable with Unity prefabs, dialing in the camera settings, and starting the main island tilemap feels like solid groundwork. And remembering to take breaks is a lesson in itself!
Looking ahead, I plan to continue expanding the main island, perhaps start roughing out different zones or points of interest. I also want to revisit character movement soon and maybe begin thinking about how basic interactions within the game world will function.
Thanks for following along with this devlog entry! It’s great to be back and making headway. What aspects of creating a game world are you most interested in? Let me know in the comments!
Download latest version